1. Select "Test Library" in the main navigation of the FieldLab Desktop app.
2. Select "New Test."
3. Select "Calibration" as the test type in the dropdown menu.
4. Name the test
Enter a name in the Test Mode Name field. The name helps you keep track of the test in the Test Library and is associated with any data you record while using this test.
5. Enter the maximum scale value
In the DUT Full Scale field, enter the full-scale value for the gauge you will be testing.
6. Select the pressure units you will use for the test.
7. Open the Test Point Wizard and define your test points.
Select the Test Point Wizard button to open the wizard.
The wizard's fields depend on the DUT Type you select: Digital or Analog. Choose the path below that matches your device.
7.a) Digital DUT
7.a.1 Confirm DUT Full Scale and pressure units. If you entered these in Steps 5–6, they are pre-populated.
7.a.2 Set DUT Type to Digital.
7.a.3 Select the Test Point Resolution from the dropdown (0, 0.0, 0.00, or 0.000).
Resolution determines how target-point readings are saved in the test data. For example, 25, 25.0, 25.00, or 25.000 psi.
7.a.4 Choose a Testing Standard:
- Custom: You define the test points and permissible error yourself (continue to 7.a.5).
- ASME grade: Selecting a grade fills in the number of test points and the permissible error for you, according to that grade. (Skip to 7.a.7.)
7.a.5 (Custom only) Set the number of Test Points upscale (Up) and downscale (Down).
7.a.6 (Custom only) Enter the Permissible Error ± value, and choose how it is computed: % of Full Scale or % of Reading.
7.a.7 Select Apply to Test Points.
7.b) Analog DUT
7.b.1 Confirm DUT Full Scale and pressure units.
If you entered these in Steps 5–6, they are pre-populated.
7.b.2 Set DUT Type to Analog.
7.b.3 Enter the DUT Unit Size in the text field.
DUT Unit Size is the pressure value of the smallest graduation (the spacing between adjacent tick marks) on the face of the analog gauge dial. For example, on a 100-psi gauge marked in 1-psi increments, the DUT Unit Size is 1. This tells FieldLab Desktop the gauge's readable resolution so it can evaluate readings against the permissible error.
7.b.4 Choose a Testing Standard:
- Custom: You define the test points and permissible error yourself (continue to 7.b.5).
- ASME grade or ISO class: Selecting one fills in the number of test points and the permissible error for you, according to that standard. (Skip to 7.b.7.)
7.b.5 (Custom only) Set the number of Test Points upscale (Up) and downscale (Down).
7.b.6 (Custom only) Enter the Permissible Error ± value, and choose how it is computed: % of Full Scale or % of Reading.
7.b.7 Select Apply to Test Points.
8. Review your test configuration and make any necessary edits.
The Test Points table shows each point's % of Scale, Test Point (the target pressure), Permissible Error, and that point's permissible error expressed as both % Reading and % Full Scale.
You can edit any value directly in the table, add a point with the + Add Row button, or remove a point with the X button at the end of its row.
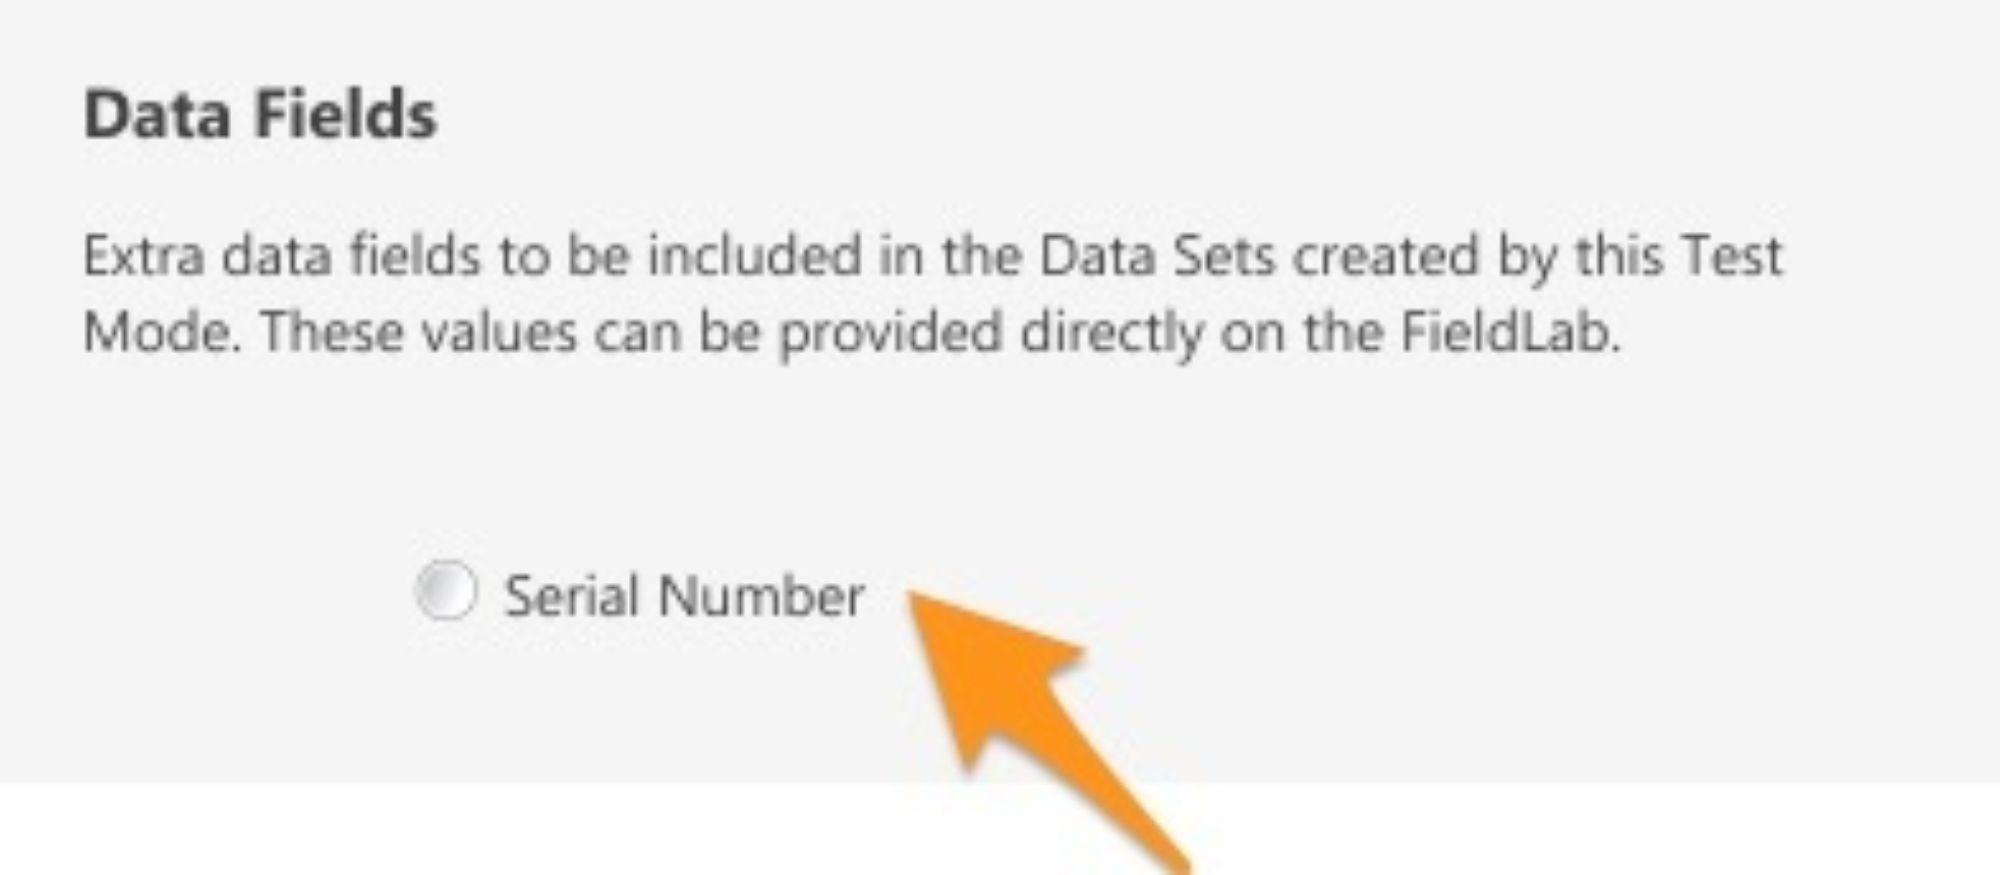
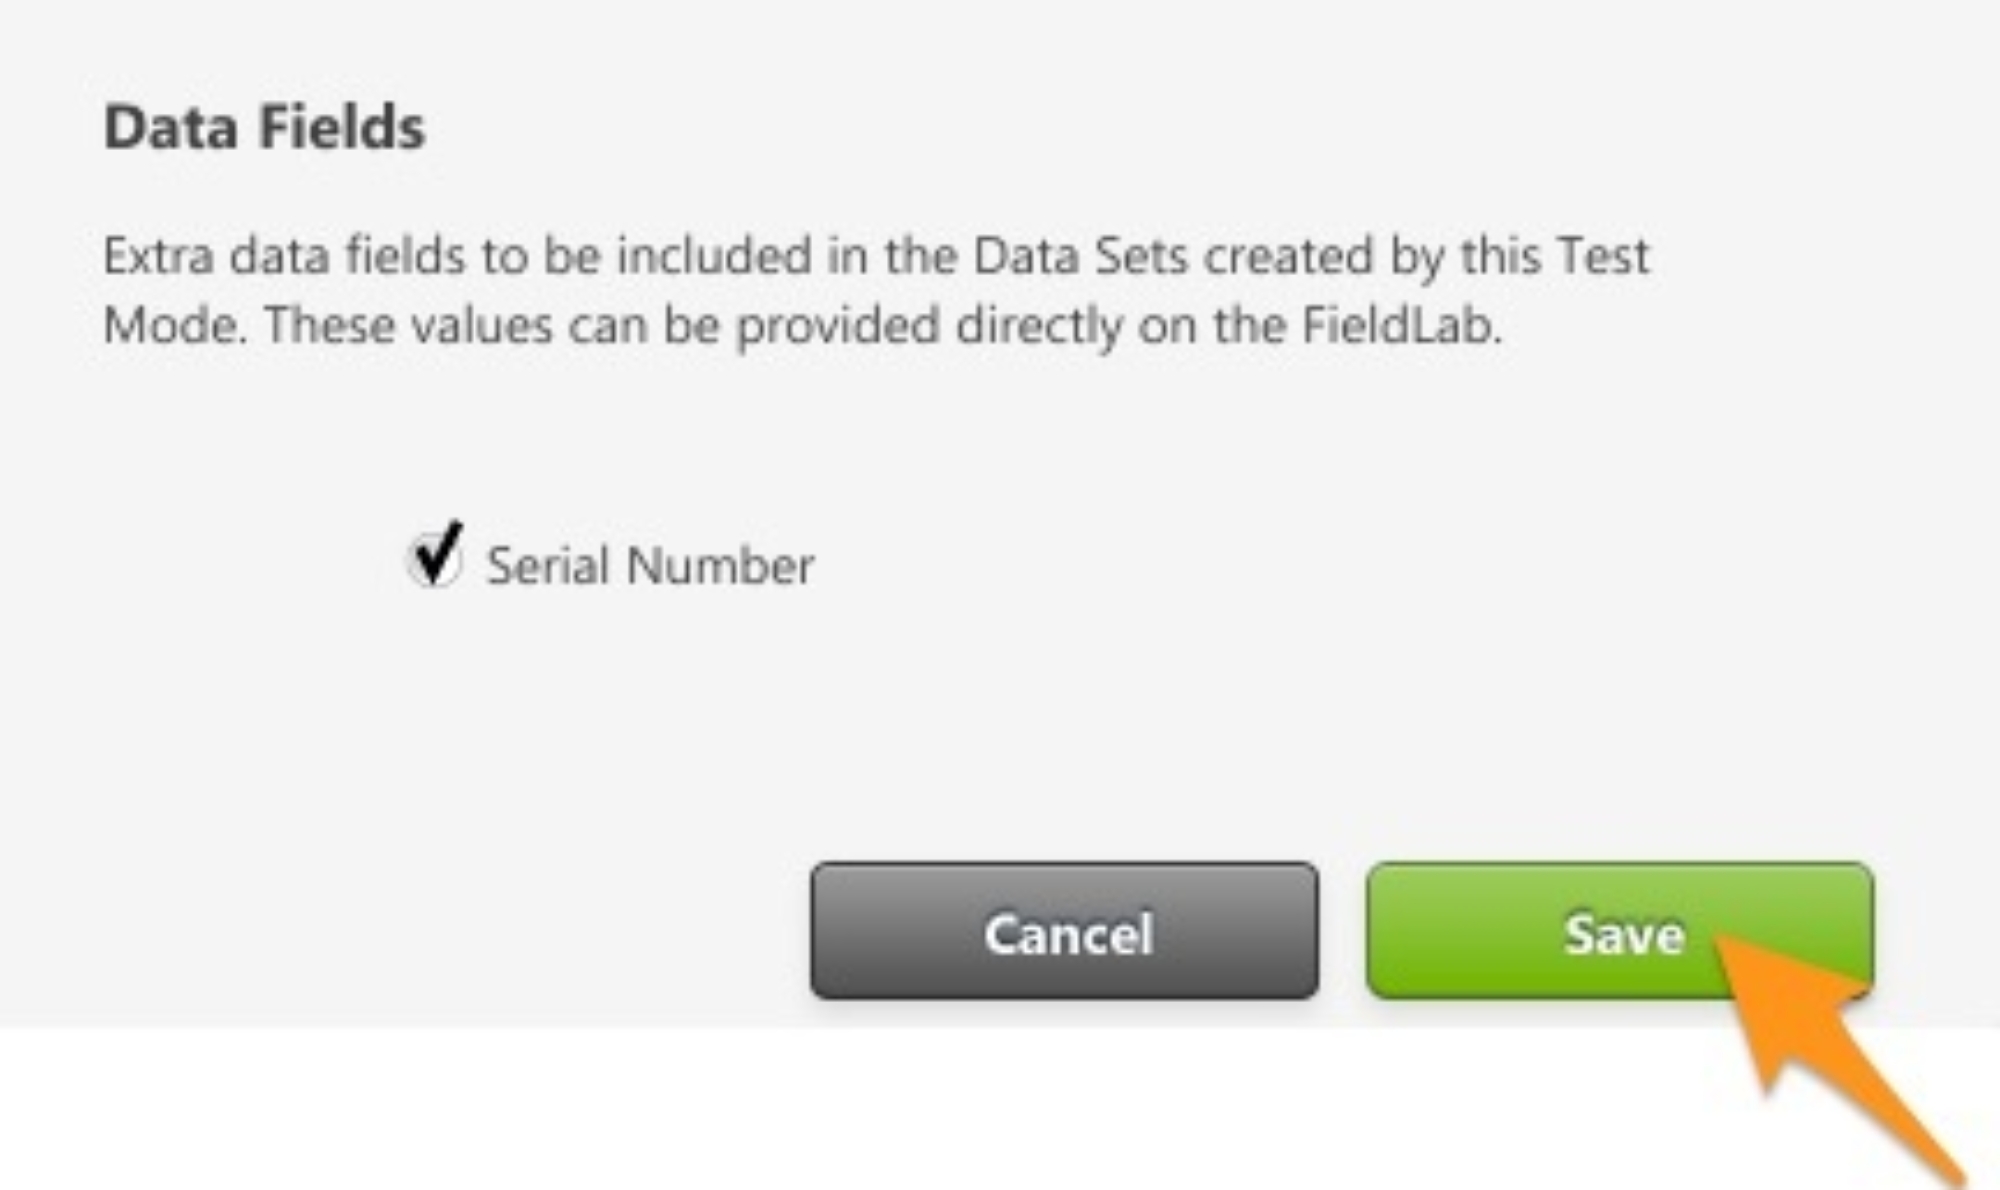
9. (Optional) Select Custom Data Fields to be included with the test data
Select any custom data fields you want recorded with this test's data. These values can be entered directly on the FieldLab.
10. Save your new test.
Once saved, you can access your test in the Test Library. Calibration tests can be activated for use in the FieldLab Desktop app and added to a FieldLab Pressure Calibrator for field use.
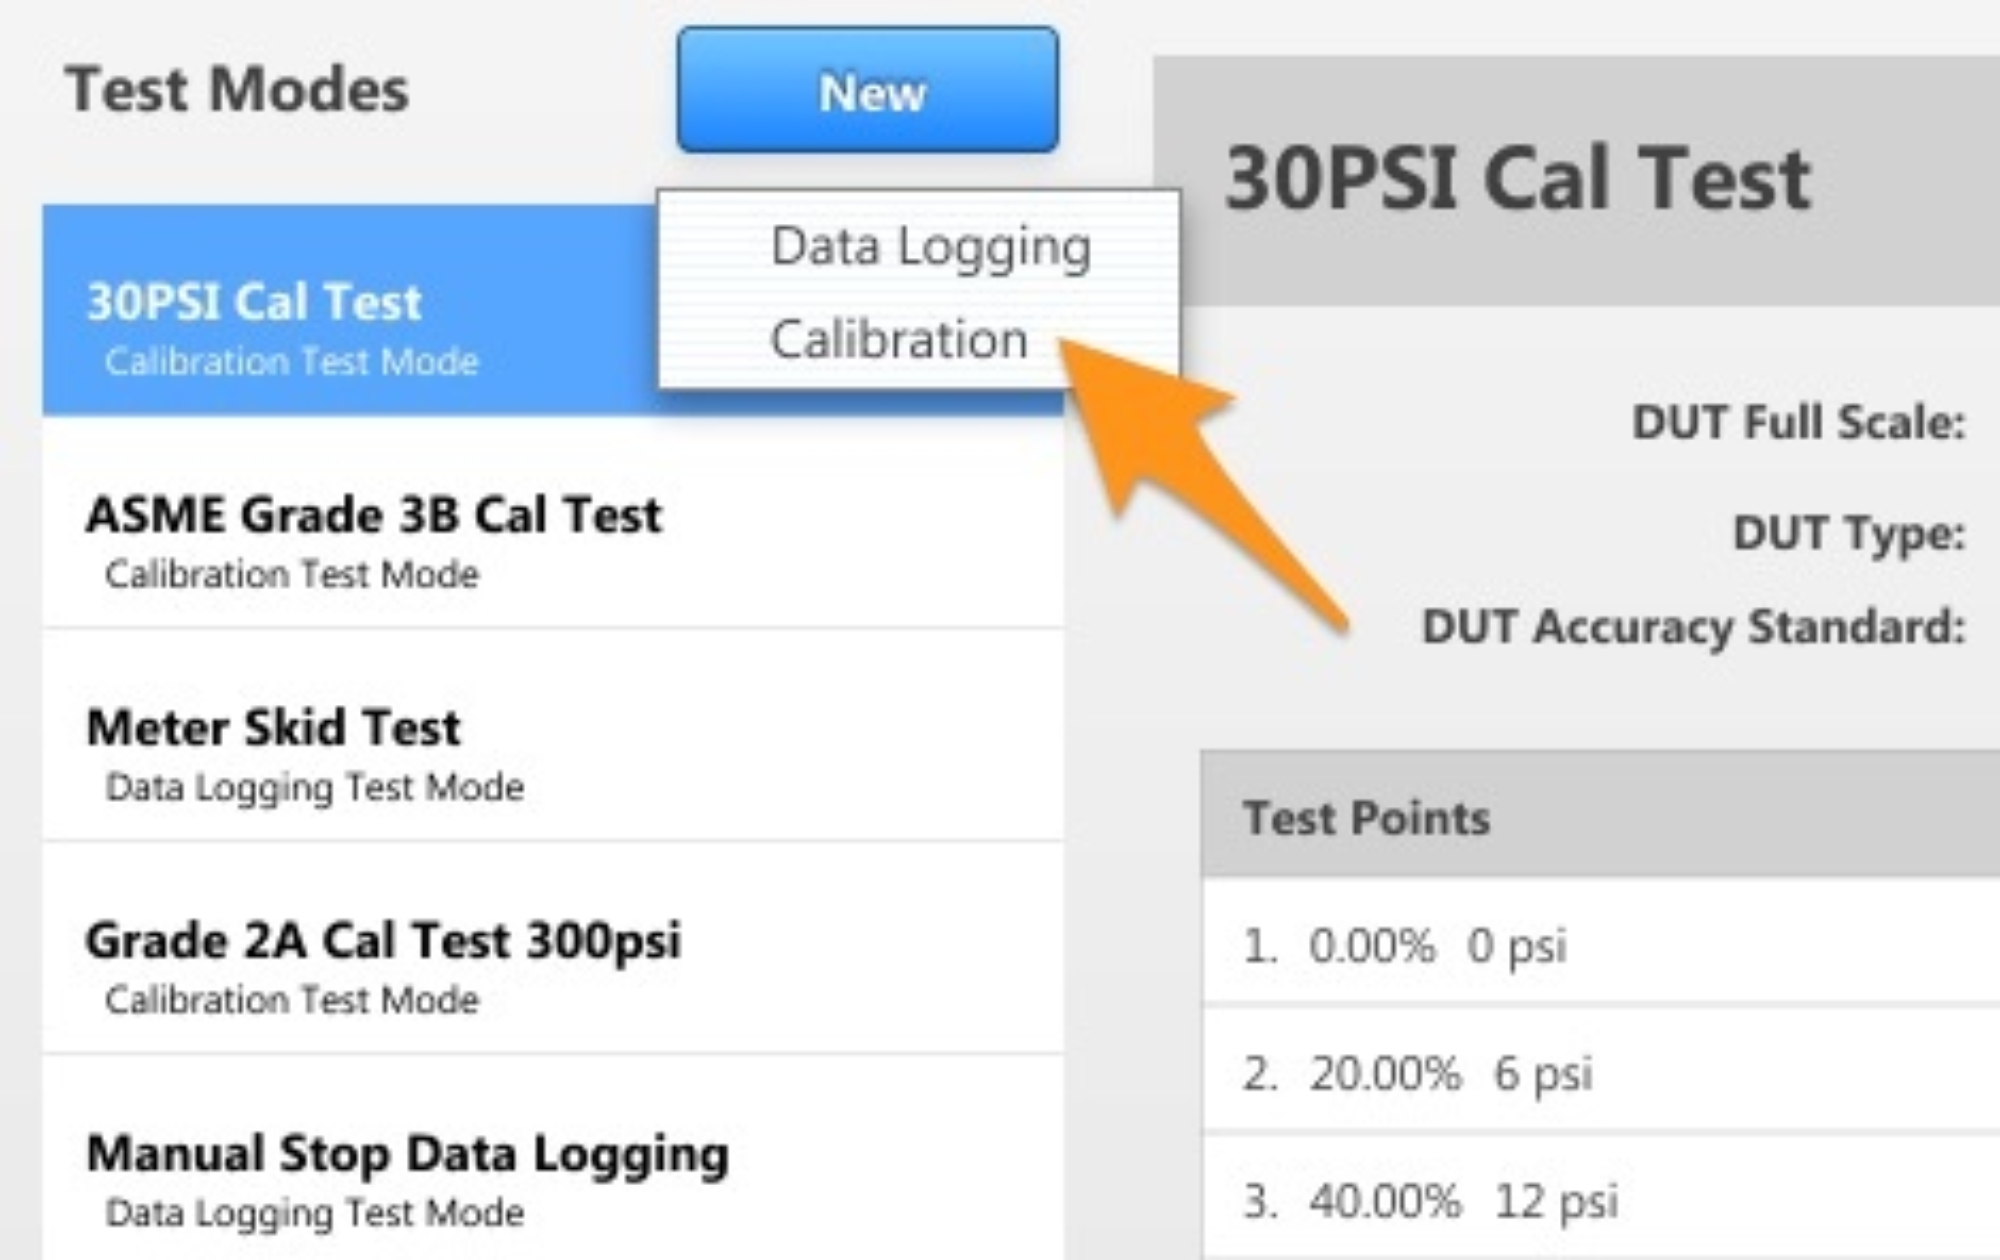
1
Go to the Test Modes Library in FieldLab Desktop.
2
Click the New Test Mode button and select 'Calibration' from the drop-down menu.
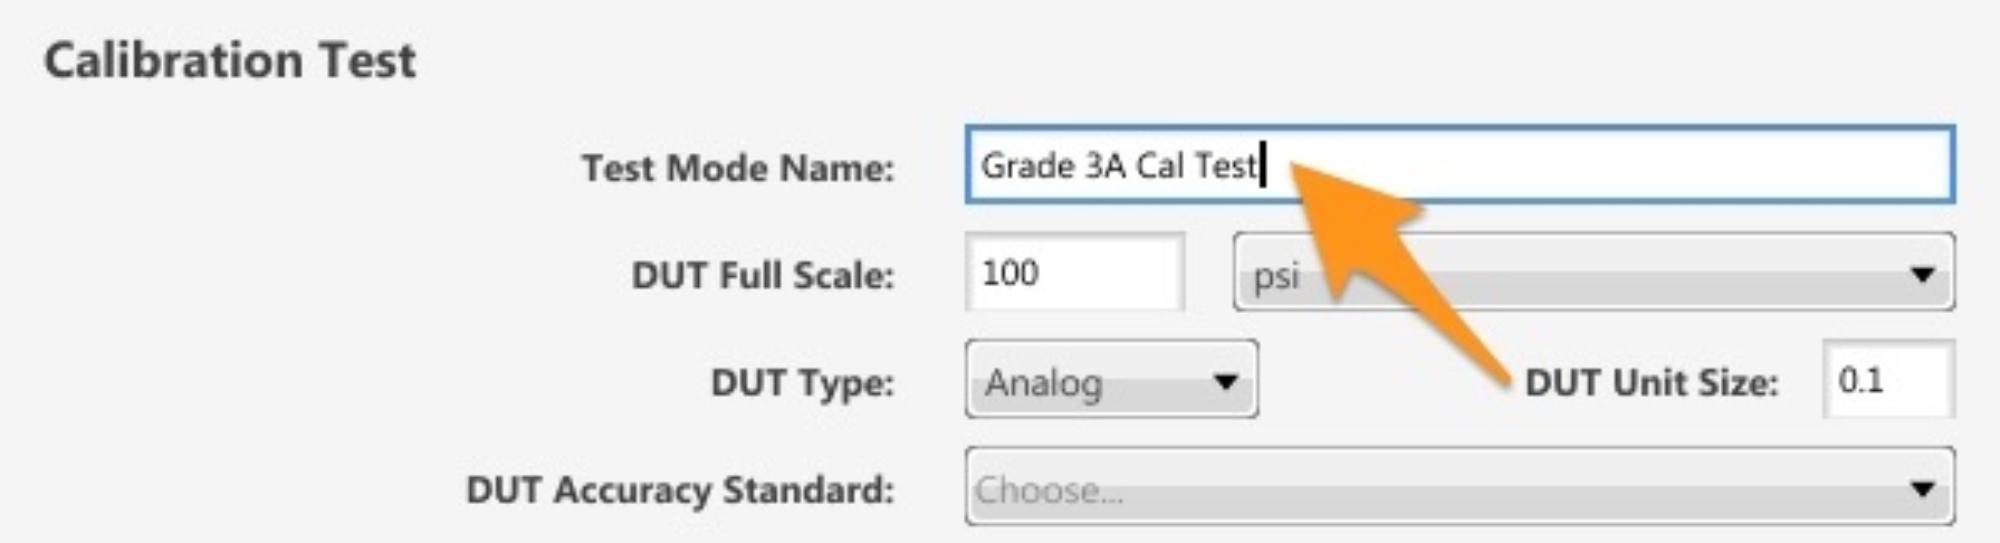
3
Name the Test
You can always change the name later. The name you create will help you keep track of the Test Mode in the Test Modes Library and on your FieldLab Pressure devices. The name will also be associated with any data you record while using this test.
4
In the DUT Full Scale Field, enter the device's rated pressure capacity.
5
Select the Engineering Units you want to use while measuring and recording pressure.
The units you select will be applied while this Test Mode is active on your FieldLab Pressure device.
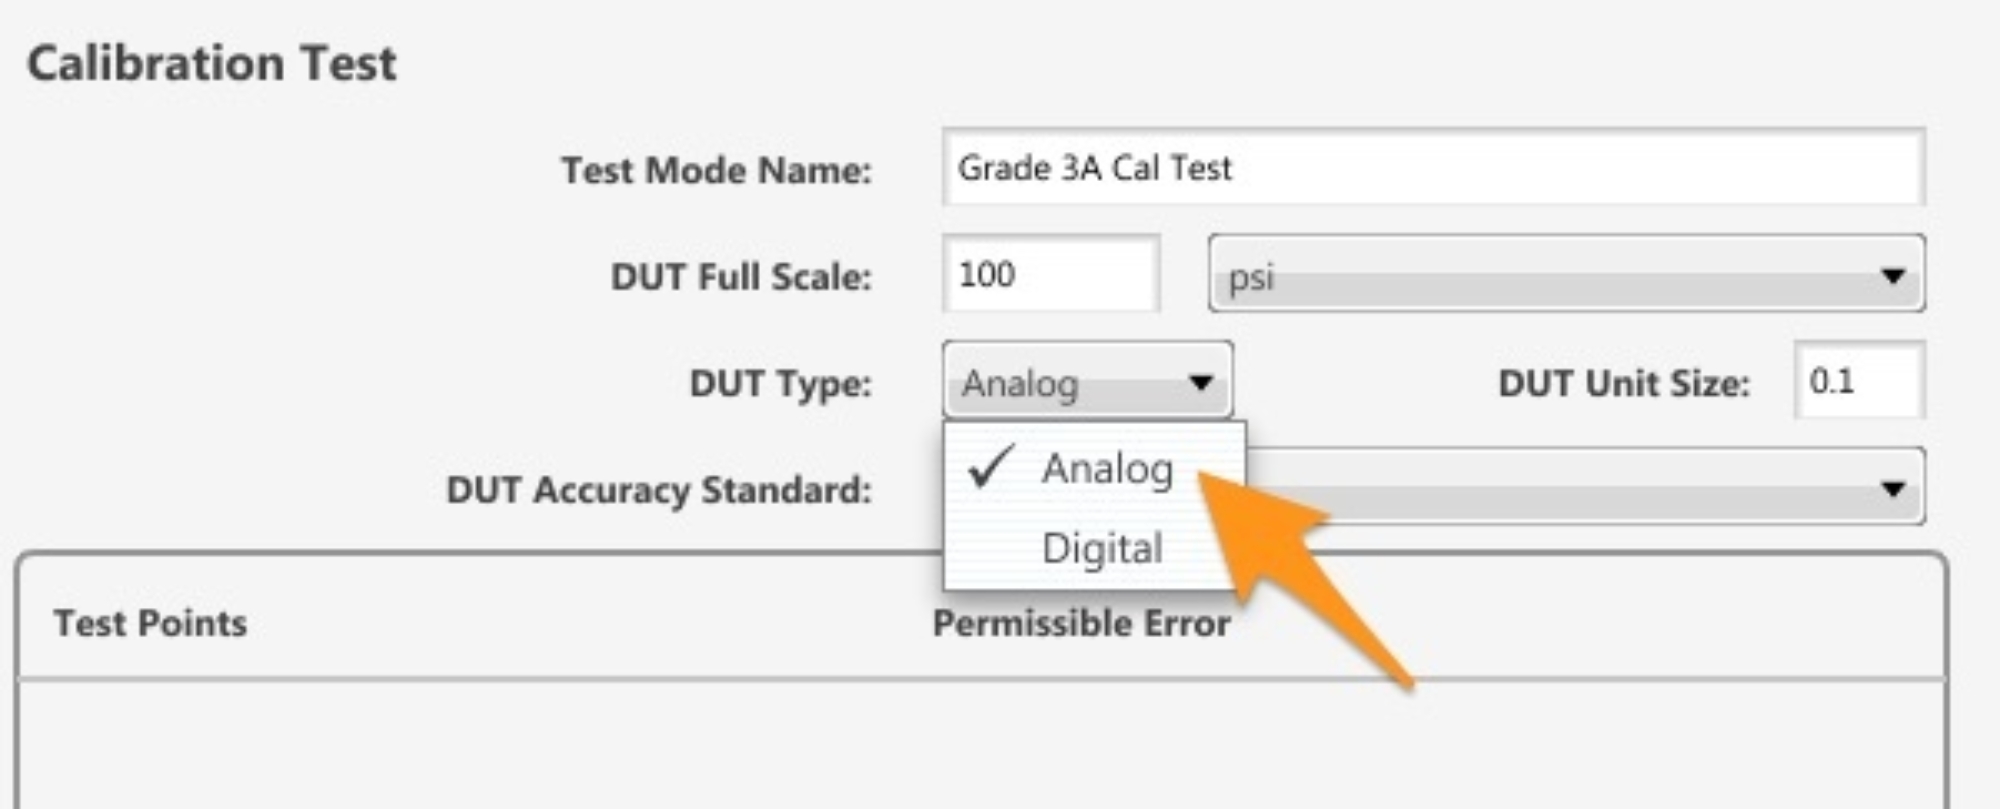
6
Select the DUT type.
If the device you will be testing has a digital readout, select "Digital".
If it has a needle, select "Analog". Selecting Analog will give you another field to enter the Unit Size, which is the smallest visible unit of measurement displayed on the device you will be testing. For example, if each mark represents 5 psi, enter "5".
7
Set Test Points and Permissible Error
You can select from a range of presets or create your own by selecting Custom from the pull-down menu.

If creating a custom test, you can easily populate the tolerance to all points by filling out the tolerance in the first point and selecting the copy tolerance button. This applies the tolerance to all test points.

9
Save your new Calibration Test Mode.
To use the new Calibration Test, you will need to add it to a FieldLab Pressure. Instructions for doing so are here: Add Test Modes to a FieldLab