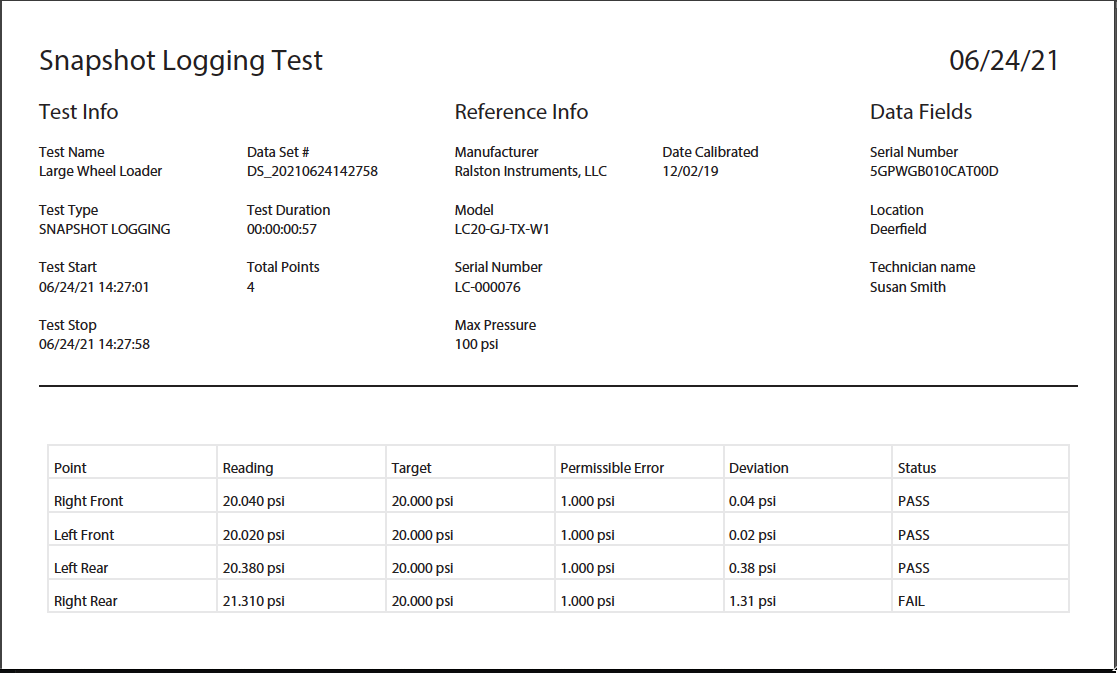
Example of a completed Snapshot Logging test exported to PDF:
What you will need:
- A Ralston FieldLab Digital Pressure Calibrator or Field Gauge with a max pressure that will accommodate your required pressure range.
- USB cable or wireless radio USB dongle (provided with purchase of Ralston gauges) to transmit live pressure readings to your computer.
- A PC running Windows 10 OS or later.
- FieldLab Desktop software version 1.36 or later. Download for free or update your software if you already have it installed on your computer.
- A Snapshot Logging Test saved to your Tests library in FieldLab Desktop. Learn how to create a Snapshot Logging Test.
- Pressure hose with the proper fittings to connect the gauge to the unit you want to log pressure from.
Power on your gauge.
Open FieldLab Desktop software on your computer.
Connect your gauge to FieldLab desktop with the provided USB cord, or wirelessly with the provided wireless USB dongle.
Connect the pressure hose and fittings to the pressure connection on your gauge.
On your computer, navigate to Test Modes in the main navigation bar in FieldLab Desktop.
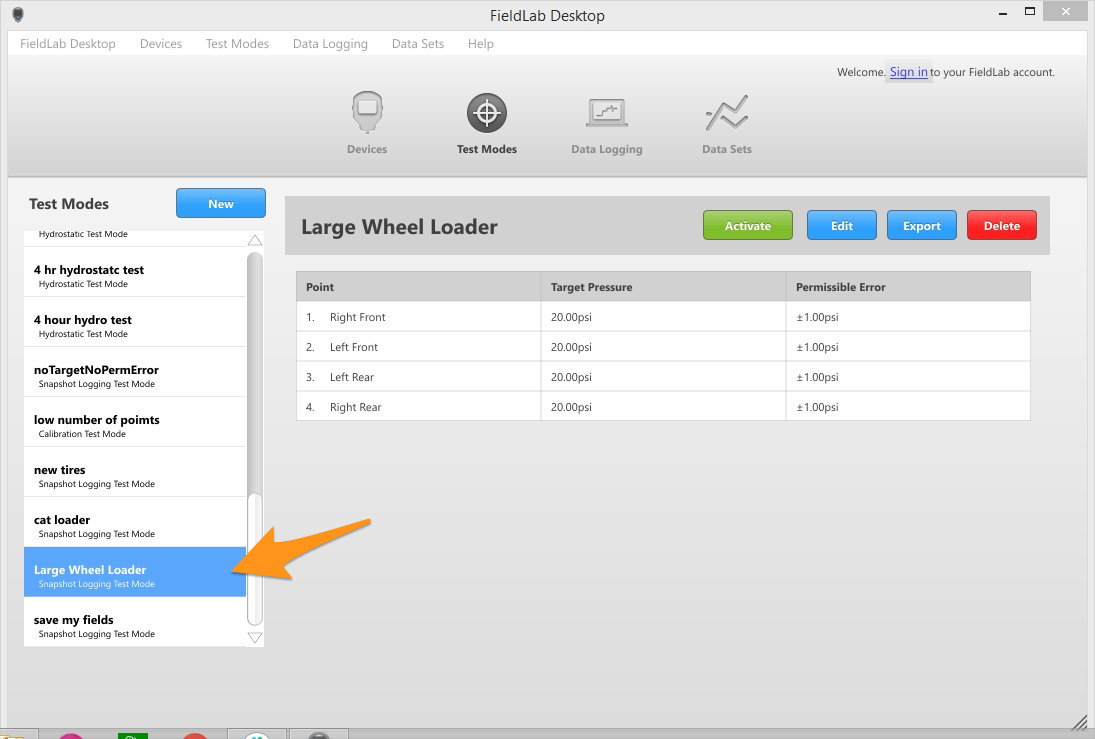
Select the Snapshot Logging test you wish to run.
Once you select it, you can preview the settings for the test to confirm this is the test you wish to run.
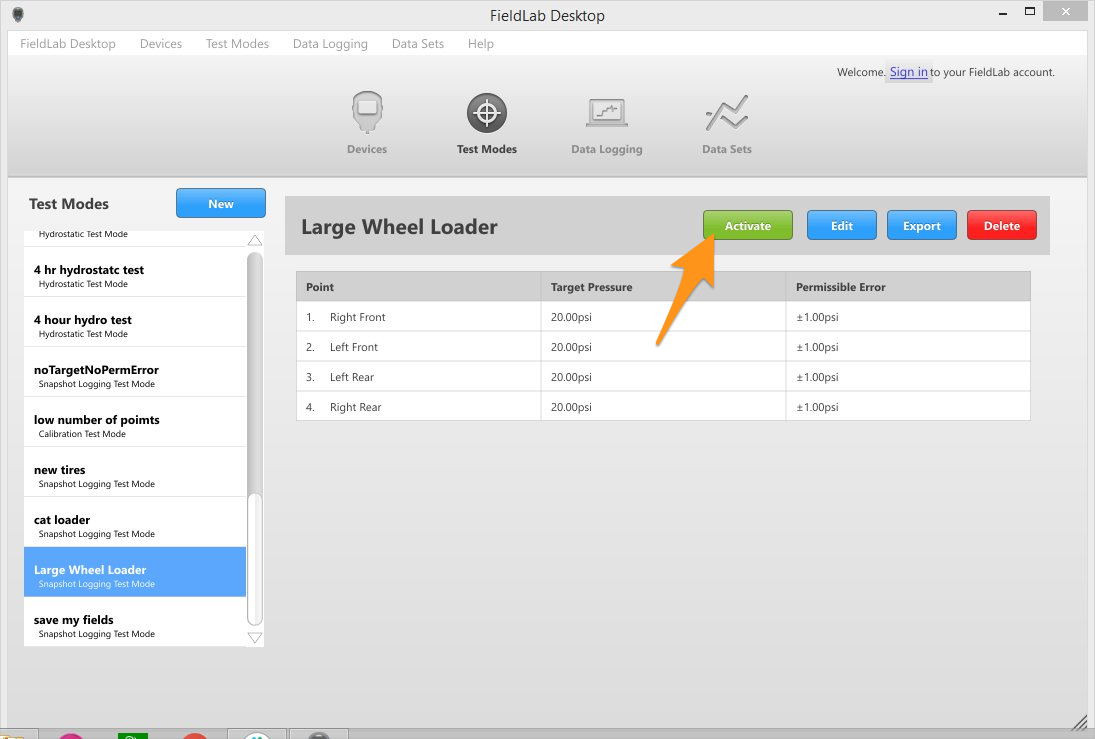
Select Activate.
Pick the connected gauge you want to use for the test by selecting the "Use as Reference" button.
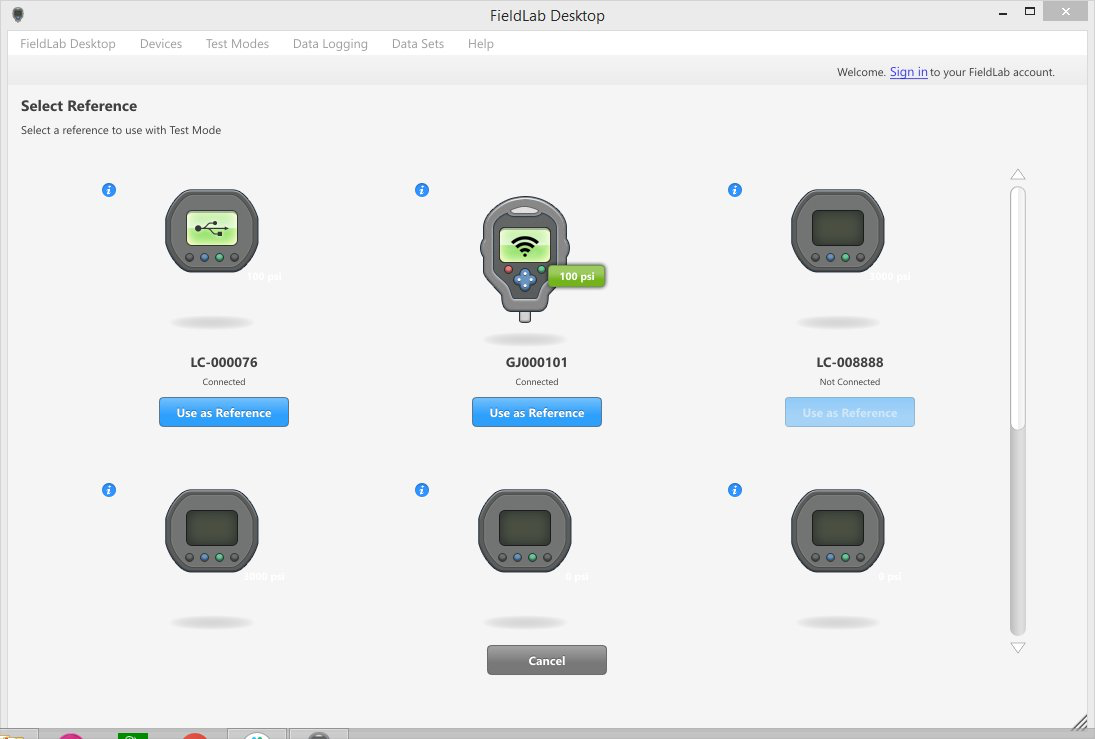
If you're don't see any connected devices or are not familiar with how to connect your device to FieldLab Desktop, here are some helpful articles:
- Make a Wireless Connection between a Ralston Field Gauge and FieldLab Desktop.
- Make a Wireless Connection between a FieldLab and FieldLab Desktop.
- Troubleshooting a wireless connection.
Connect your pressure hose to the object you want to log.
View the pressure reading in the Live Reading column on FieldLab Desktop.
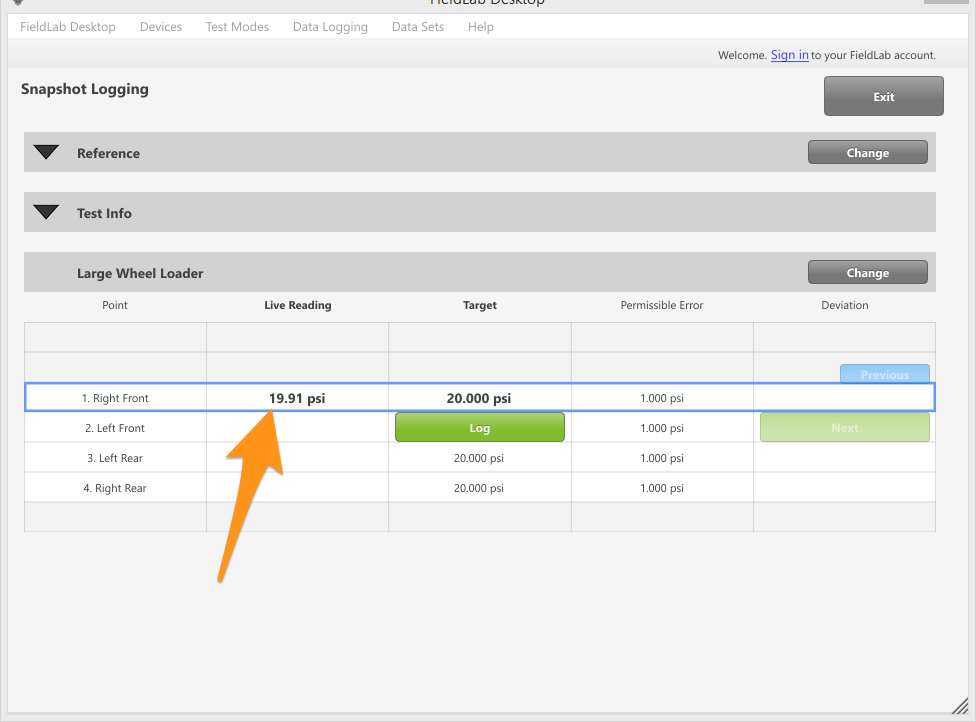
Select the Log button to save the reading.
If you are not satisfied with the reading for whatever reason, select Re-log.
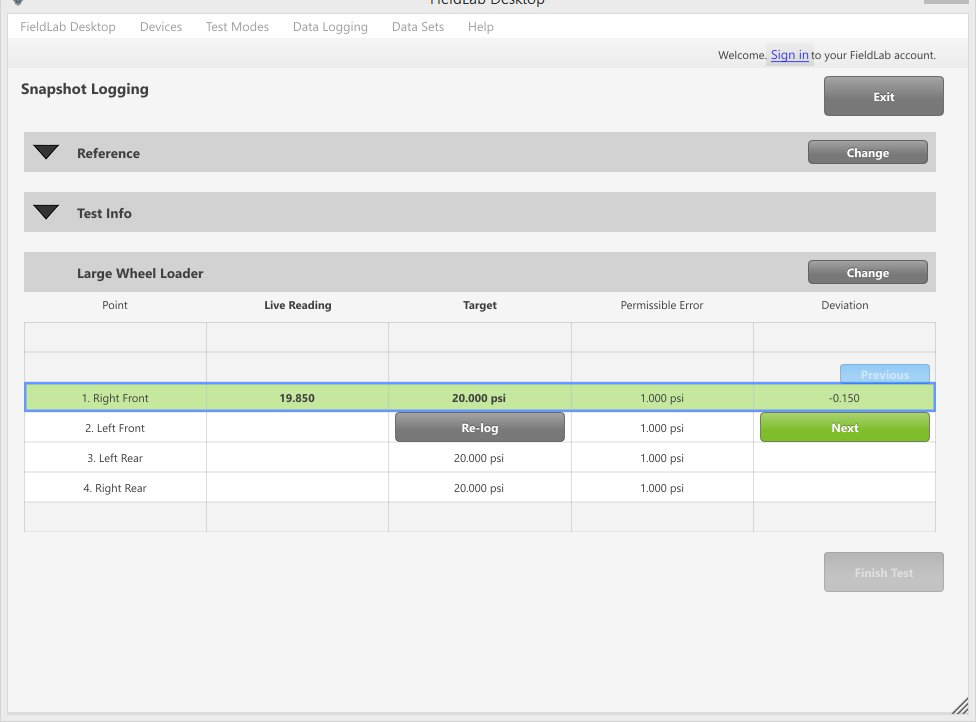
Select Next to move on the the next point.
Connect your hose fitting to the next item you want to log.
Repeat steps 10 through 13 until you have logged all the points in your test.
Optional: Fill in Data Fields.
If you have appended custom data fields to this test:
At any time before, during, or at the end of the test you can add information to custom data fields by selecting Test Info > and then the pencil icon.
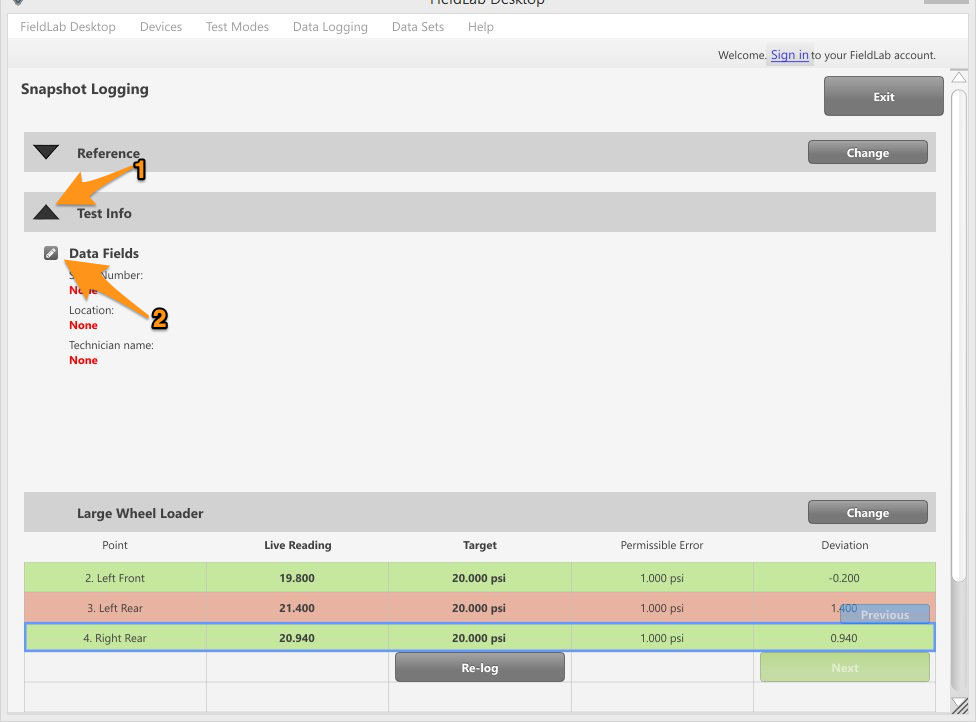
More information on Custom Data Fields: Add Custom Data Fields to a Test.
Finish Test
From here you can select Run Again to repeat the test, or View Data Set to review the saved test results.
Related articles:
Export data sets from FiedlLab Desktop.